brease-next Package
Getting Started
This guide walks you through setting up brease-next in a Next.js project.
Reading these docs with an AI agent?
Point your coding tool at /llms.txt for a Markdown index of the whole documentation, or grab any page as raw Markdown by appending .md to its URL (e.g. /docs/getting-started.md).
Prerequisites
Before you begin, make sure you have:
- Next.js 13+ (App Router)
- React 18+
- Node.js 16+
- A Brease CMS account with a site created
Quick Start with CLI
The fastest way to get started is the CLI scaffolding tool:
npx brease-next
This interactive command creates a fully configured project with your CMS credentials, section mapping, and routing already wired up. See the CLI Scaffolding page for details.
If you prefer manual setup, continue below.
Step 1: Install the Package
npm install brease-next
Step 2: Get Your API Credentials
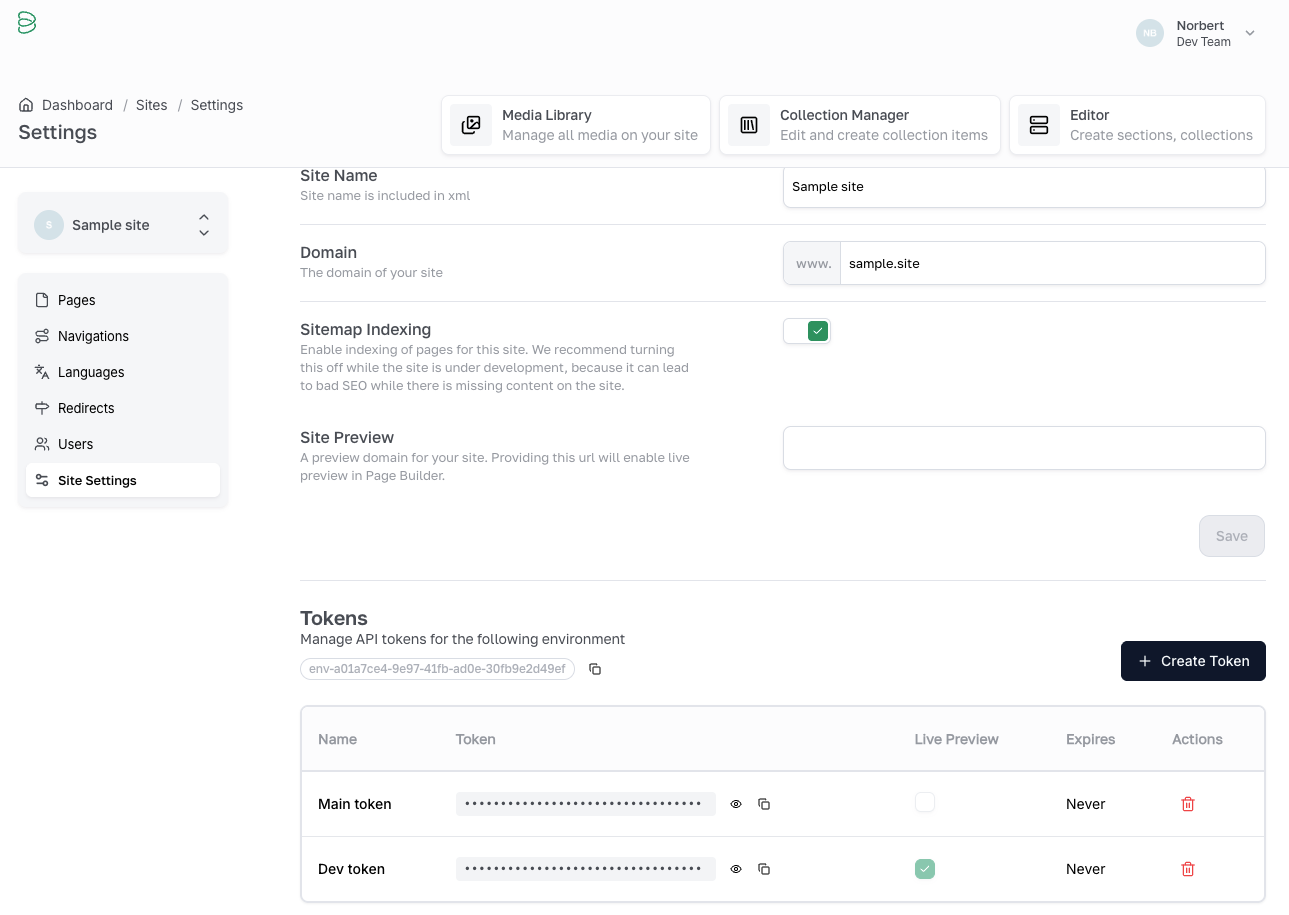
You need two values from the Brease CMS dashboard:
- Sign in at app.brease.io
- Open your site and navigate to Site Settings
- In the API Tokens section, generate a new token (or copy an existing one)
- Copy the Environment ID from the same settings page
Step 3: Configure Environment Variables
Create a .env.local file in your project root:
BREASE_TOKEN=your_api_token_here
BREASE_ENV=your_environment_id_here
BREASE_DEFAULT_LOCALE=en
Environment Variables Reference
| Variable | Required | Default | Description |
|---|---|---|---|
BREASE_TOKEN | Yes | -- | API authentication token from Site Settings |
BREASE_ENV | Yes | -- | Environment ID from Site Settings |
BREASE_DEFAULT_LOCALE | Yes | -- | Default locale code (e.g. en, sk) |
BREASE_REVALIDATION_TIME | No | 30 | ISR revalidation interval in seconds |
Step 4: Configure Next.js
Update your next.config.ts to support Brease media and redirects:
import type { NextConfig } from 'next'
import { fetchRedirects } from 'brease-next/server'

const nextConfig: NextConfig = {
  images: {
    remotePatterns: [
      {
        protocol: 'https',
        hostname: 'assets.brease.io',
        pathname: '/**',
      },
    ],
  },

  async redirects() {
    const result = await fetchRedirects()

    if (!result.success) {
      console.error('Failed to fetch redirects:', result.error)
      return []
    }

    return result.data.map((redirect) => ({
      source: redirect.source,
      destination: redirect.destination,
      permanent: redirect.type === '301' || redirect.type === '308',
    }))
  },
}

export default nextConfig
Step 5: Create a Cached Page Fetcher
Create a shared, deduplicated page fetcher using React's cache():
// src/lib/brease/get-page.ts
import { cache } from 'react'
import { fetchPage } from 'brease-next'

export const getPage = cache(async (slug: string) => fetchPage(slug))
This ensures that your layout, generateMetadata, and page component all share a single request per render instead of making redundant API calls.
Step 6: Create a Section Map
Create a configuration file that maps CMS section keys to React components:
// src/lib/brease/brease-config.ts
import { ComponentType } from 'react'
import HeroSection from '@/sections/hero-section'
import TextSection from '@/sections/text-section'

export const sectionMap: Record<
  string,
  ComponentType<Record<string, unknown>>
> = {
  hero: HeroSection,
  text: TextSection,
}

export const contextConfig = {
  navigations: [
    // { key: 'header', id: 'your-navigation-uuid' },
    // { key: 'footer', id: 'your-navigation-uuid' },
  ],
  collections: [
    // { key: 'faqs', id: 'your-collection-uuid' },
  ],
  userParams: {},
}
Step 7: Set Up Root Layout
Wrap your application with BreaseContext in the root layout. The slug prop tells the context which page is currently active:
// src/app/[[...slug]]/layout.tsx
import { BreaseContext } from 'brease-next'
import { contextConfig } from '@/lib/brease/brease-config'
import { getPage } from '@/lib/brease/get-page'
import 'brease-next/styles'

export default async function SlugLayout({
  children,
  params,
}: {
  children: React.ReactNode
  params: Promise<{ slug?: string[] }>
}) {
  const { slug } = await params
  const pageSlug = slug ? slug.join('/') : ''

  return (
    <BreaseContext config={contextConfig} slug={pageSlug} getPage={getPage}>
      {children}
    </BreaseContext>
  )
}
Key points:
- The
slugprop accepts the current route slug, optionally with a locale prefix (e.g.sk/about-us). - The
getPageprop passes your cached fetcher so the context can share page data with the page component. import 'brease-next/styles'loads the styles required for CMS preview toolbar functionality.
Step 8: Create the Catch-All Page
// src/app/[[...slug]]/page.tsx
import { BreasePage, generateBreasePageMetadata, ensureSuccess } from 'brease-next'
import { sectionMap } from '@/lib/brease/brease-config'
import { getPage } from '@/lib/brease/get-page'
import { notFound } from 'next/navigation'
import type { Metadata } from 'next'

type Props = { params: Promise<{ slug?: string[] }> }

export async function generateMetadata({ params }: Props): Promise<Metadata> {
  const { slug } = await params
  const pageSlug = slug ? slug.join('/') : ''
  const result = await getPage(pageSlug)

  if (!result.success) return {}

  return generateBreasePageMetadata(result.data)
}

export default async function Page({ params }: Props) {
  const { slug } = await params
  const pageSlug = slug ? slug.join('/') : ''
  const result = await getPage(pageSlug)

  if (!result.success) {
    if (result.status === 404) return notFound()
    throw new Error(result.error)
  }

  return <BreasePage page={result.data} sectionMap={sectionMap} />
}
Verification
Start the development server and check for errors:
npm run dev
Open your browser to http://localhost:3000. If everything is configured correctly:
- The page should render without console errors
- You should see your CMS content (or an empty page if no sections are configured yet)
If you see errors about missing environment variables, double-check your .env.local file and restart the dev server.
Next Steps
- API Reference -- all available functions and types
- Components -- BreasePage, BreaseImage, BreaseLink, and more
- Context & Hooks -- BreaseContext configuration and useBrease()
- SEO & Metadata -- metadata, robots.txt, sitemap, structured data
- CLI Scaffolding -- automated project setup